Straight Back vs Beehive: Best Sew In Pattern
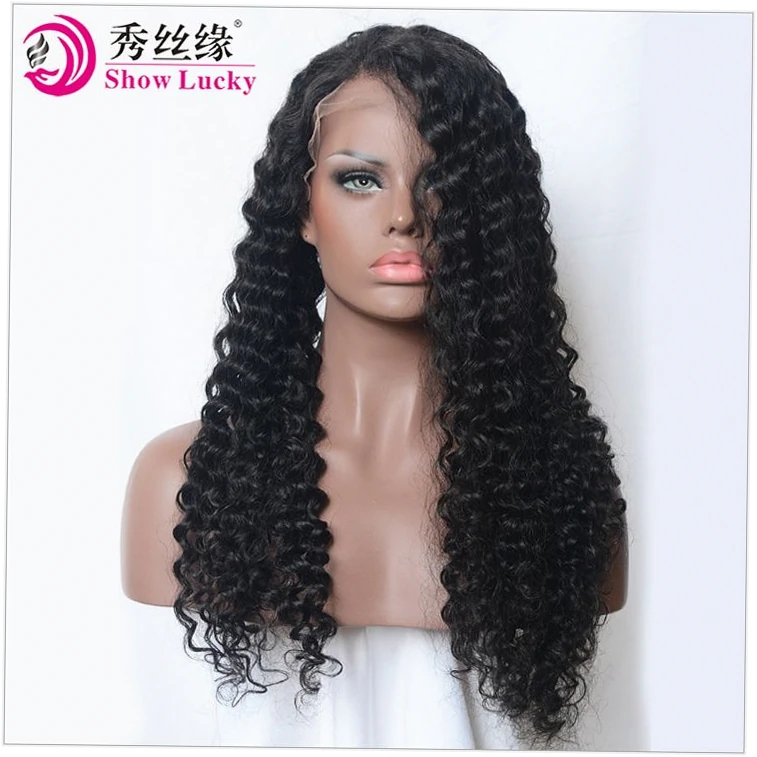
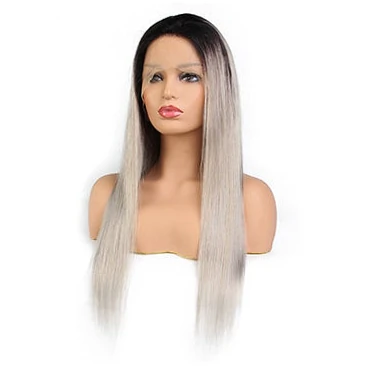
What I tell every client who sits in my chair is simple: the best braid pattern for sew in weave is a flat, evenly spaced cornrow foundation that spreads weight across the whole scalp — straight-backs for full sew-ins with a side part, a beehive layout when you want a clean middle part with no visible row ends. Lumpy braids, thick front rows or a bunched crown will ruin the install no matter how expensive the bundles are, and the exact same logic rules glueless lace front wig installations, where a flat, low base is what makes the hairline read as real.
Table of Content
What Does Your Braid Pattern Really Control?
How Braids Carry the Weight of a Sew-In
Treat your cornrows as a load-bearing frame rather than a formality: they transfer the weight of bundles, wefts and thread across the scalp instead of yanking one narrow strip of hair. Rows that follow your natural growth direction and sit genuinely flat at the crown keep tension even, which is the honest reason a four-bundle install can feel lighter than two bundles sewn onto chunky, uneven braids.
Here is the mechanism in plain terms: every track anchors to a row, so row thickness sets how far the weft sits from your scalp. Thick braids push tracks outward, create bulk under the crown and force the needle through tension instead of around it. Flat rows let thread glide, keep the install close to the head, and make a part sit without a lump.
Straight-Back vs Beehive Foundations
Straight-back braids run forehead to nape in parallel rows, which is why most braiders reach for them on full sew-ins: the layout installs fast, opens cleanly at takedown and leaves no crossing points to snag thread. The trade-off is a visible line where rows end, so straight-backs suit side parts, layered cuts and closures far better than a razor-sharp center part.
A beehive, sometimes called a circular or spiral pattern, wraps rows around the crown like a coil. It hides track junctions, distributes weight beautifully around the head and supports center parts, ponytails and updo styling. Because the rows curve, takedown takes longer and the foundation dries more slowly underneath — a real consideration if you sweat, train hard or wash weekly.
Why Pattern Decides Washing and Takedown Ease
Water has to reach your scalp and then escape. Dense zig-zag or heavily doubled rows trap moisture near the roots, so the braids under your weave can stay damp a day or two after washing, and that trapped dampness is what smells by week three. Straight-backs and open beehives dry faster under a hooded dryer, which is why I ask about wash frequency before I ever pick up a comb.
| Pattern | Best suited to | Scalp tension | Drying speed | Takedown time |
|---|---|---|---|---|
| Straight-back rows | Full sew-ins, side parts, closures | Low to medium | Fast | 20–30 minutes |
| Beehive / circular | Center parts, ponytails, updos | Low | Slow to medium | 40–60 minutes |
| Zig-zag / crossover | Short-term installs, slick-backs | Medium to high | Slow | 30–45 minutes |
| Cornrows with a braided-flat leave-out | Blending with natural hair | Medium at the part line | Medium | 25–40 minutes |
| U-part or V-part base | Open-middle styles with leave-out | Medium | Fast | 30 minutes |
Which Braid Pattern Suits Your Hair and Texture?
Matching Pattern to Curl and Density
Fine, lower-density hair needs thinner rows and more of them, spaced so no single braid carries too much load. Coarse, high-density hair handles fewer, slightly thicker rows without complaint. If your hair is fine and you still want heavy 24-inch bundles, a narrow-row beehive beats straight-backs because the weight circles the head rather than hanging from one zone.
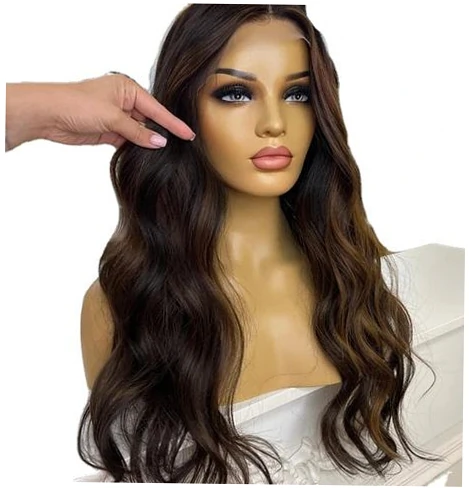
Curl pattern matters for blending, not just aesthetics. A stylist who knows you plan to wear curly bundles should braid the leave-out section flat and smooth so your natural coils can match the extensions without daily heat. Straight-hair clients get a different approach: a compact leave-out braided with a slight curve so the part reads natural rather than pasted down.
Leave-Out Styles and Thin Edges
If your hairline is fragile, request a pattern that keeps the first row a finger’s width behind the hairline and ask for a small leave-out. Generous leave-outs demand daily combing, brushing and flat-ironing to match wefts, and that repetition over five weeks is what thins the front. Less leave-out usually means less daily fuss and a far calmer hairline.
Closure and Frontal Installs
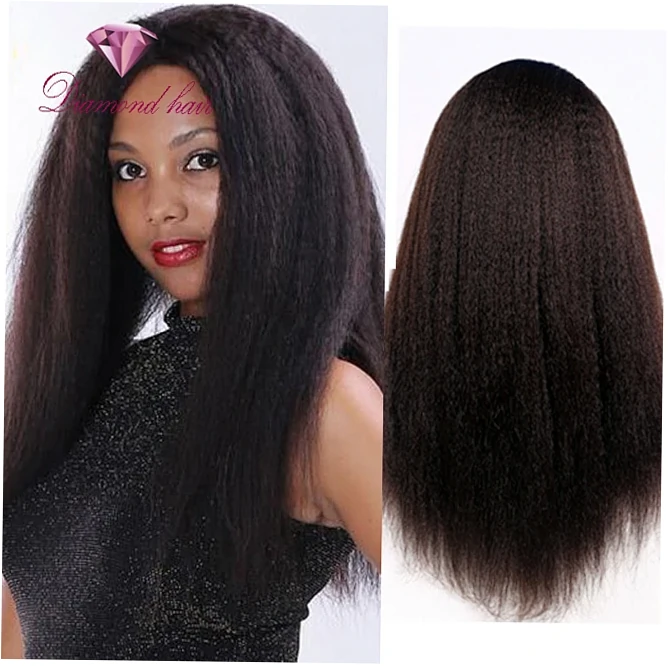
With a closure or frontal the foundation changes completely: rows stay flat and low at the hairline so the lace sits flush, and bulk gets pushed toward the crown. Hairline-first braiding, gentle tension and a smooth base matter even more here than under a sewn-in, because a raised cornrow will lift the lace and cast a shadow along the edge.
| Your situation | Recommended pattern | Avoid | Why it works |
|---|---|---|---|
| Fine or low-density hair | Narrow straight-backs or beehive | Thick zig-zag rows | Spreads weight, protects roots |
| Thick, coarse hair | Fewer medium rows | Over-thin rows | Thin rows snap under heavy bundles |
| Sensitive hairline | Hairline-offset rows, small leave-out | Front row on the hairline | Reduces traction at the temples |
| Wash weekly or gym 4x weekly | Straight-back, open spacing | Dense crossover patterns | Dries fully, no trapped moisture |
| Center part devotee | Beehive / circular | Straight-backs | Hides row ends at the part |
| Closure or frontal wearer | Flat rows, bulk at crown | Bulky front rows | Lace sits flush, no lifting |
Sew-In Foundation vs Braided Wig Alternatives
Where a Sew-In Still Wins
A well-braided sew-in gives you something no wig fully copies: scalp-level realism at the part, free choice of bundles and a hairline that moves with your head. If your braider is skilled and your scalp tolerates cornrows, a flat foundation plus quality bundles remains the most convincing option for slick-backs, high ponytails and anything pulled back.
The catch is commitment. A sew-in asks four to six weeks of careful washing, complete drying and gentle styling, and takedown is where most quiet damage happens. Rushed combing through a matted, over-moisturized foundation removes hair you spent a month growing, which is why I schedule takedown as seriously as the install itself.
When a Braided Wig Is the Smarter Buy
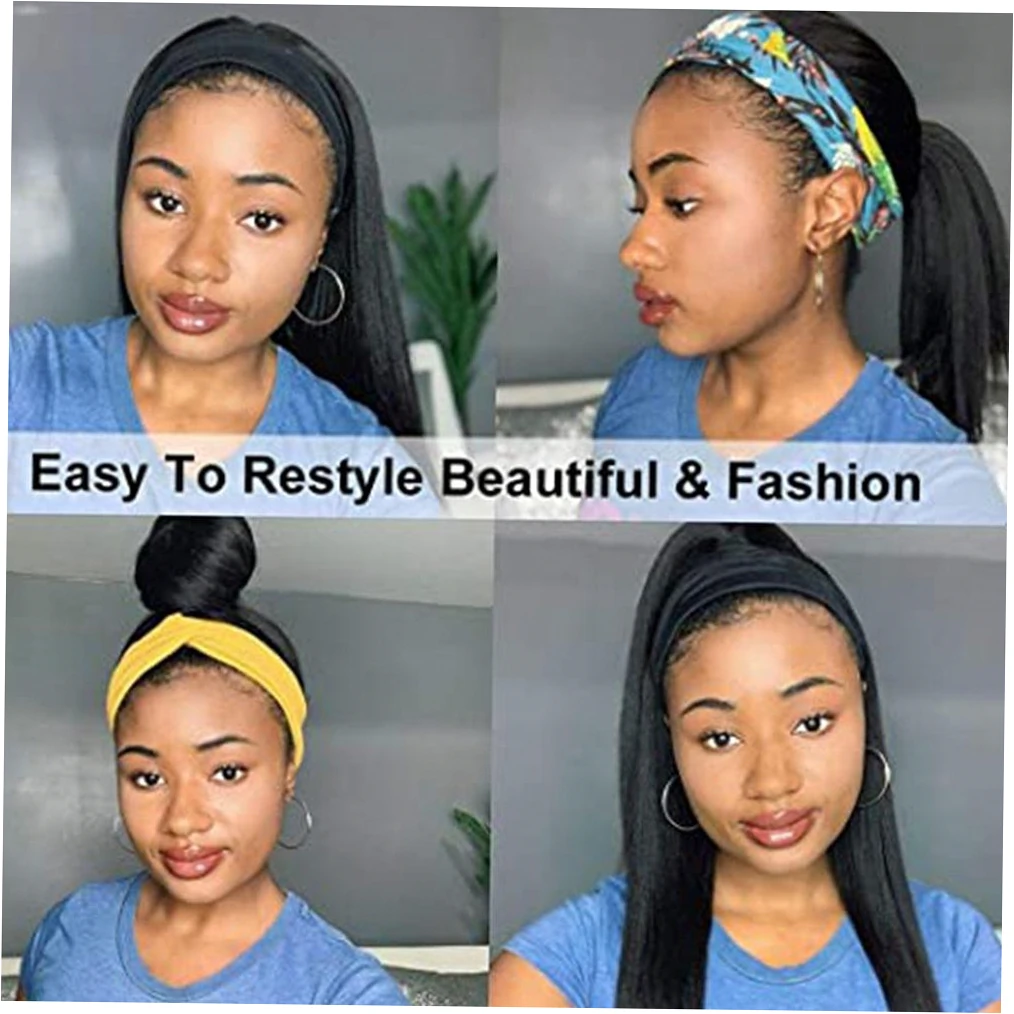
If tension, time or a tender scalp is the real problem, a unit with the braids already built in solves it outright. I place good anti-shedding box braid wigs in the same conversation as a sewn-in foundation, because both deliver the braided look while the wig skips cornrows entirely: no needle, no thread, no takedown marathon after six weeks.
For a lighter, scalp-friendly finish, premium knotless braid wigs mimic the feed-in technique with no bulky knots at the root, and you can lift one off in seconds when a headache hits. Neither replaces a well-fitted sew-in for part realism, but both are legitimate answers when your edges need a genuine break.
The Truth About Protective Styling
Sew-ins get marketed as protective, and that word deserves scrutiny. Braiding tension, extension weight and daily leave-out styling all add stress; long-term wearers often report solid growth followed by breakage months later. The honest version: a sew-in protects your ends while it is installed, but it is not automatically protective of your roots, edges or hairline.
Worth naming the limits of the evidence too. No controlled study compares braid layouts head-to-head; what follows comes from hands-on braiding experience and patterns reported by regular wearers, and results shift with scalp sensitivity, stylist skill and how well you maintain the foundation between appointments.
| Common claim | What wearers actually experience | Practical takeaway |
|---|---|---|
| “Sew-ins always grow your hair” | Growth happens, but breakage after takedown is common when rows ran tight | Keep rows flat; take down at five to six weeks |
| “You can wash like normal” | Dense patterns stay damp for days and start to smell | Choose open rows and dry under a hooded dryer |
| “Leave-out blends easily” | Blending often means daily heat on a small section | Match bundle texture to your own hair |
| “Edges bounce back” | Already-thin edges rarely recover while leave-out is stressed | Skip leave-out; use a closure or a braided wig |
| “Any braider can do it” | Lumpy foundations cause tension, bulk and slipping tracks | Ask for photos of foundation work first |
Biggest Mistakes That Damage Edges and Tension
Overtight Front Rows
A front row braided so tight your eyebrows lift is not “secure,” it is restricted circulation. Ask for a first row that sits a finger’s width behind the hairline, and speak up within the first hour if you feel throbbing. Pain is not proof of a good install; a row anchored slightly back holds just as firmly and far more safely.
Skipping the Wash and Dry Cycle
Under a weave, sweat, sebum and product residue collect faster than most people expect, and trapped moisture drives itching and odor. Wash gently every one to two weeks, then dry the foundation completely under a hooded dryer before restyling. Damp cornrows beneath bundles are the single most common reason an install turns funky by week four.
Blending Leave-Out with Too Much Heat
Repeated flat-iron passes on a small leave-out section, not the braids themselves, is where many hairlines quietly disappear. If blending takes heat every single morning, change the texture of your bundles instead of raising the temperature of your iron. Curlier bundles that mirror your natural pattern need almost no heat at all.
Protecting Regrowth Between Installs
Give your scalp a genuine break rather than booking back-to-back appointments. Two weeks of loose hair, deep conditioning and gentle massage lets the hairline recover before the next set of cornrows. If you already see thinning at the temples, it is worth learning how to protect edges under a wig before booking again, because prevention costs far less than repair.
| Warning sign | What it usually means | Fix before it worsens |
|---|---|---|
| Throbbing temples within two hours | Front row braided too tight | Ask for a re-braid, not painkillers |
| Small bumps along the hairline | Follicle irritation from traction | Loosen the front row; skip heavy oils |
| Itching plus odor by week three | Trapped moisture under dense rows | Wash gently and dry fully under heat |
| Tracks slipping at the nape | Rows too thick or poorly anchored | Flatter rows with more anchor points |
| Headache at the crown | Weight concentrated in one spot | Beehive distribution or fewer bundles |
| Tender, sore part line | Daily leave-out manipulation | Smaller leave-out or a closure |
How to Choose and Maintain the Best Pattern
A Quick Consultation Checklist
Before your appointment, answer four questions honestly: how often do you wash, how tight do you wear ponytails, is your hairline sensitive, and do you want a center part. Those answers usually narrow the choice to one or two layouts. Bring photos of the finished style, not just the hair, because the style dictates the foundation.
A Four-Week Maintenance Rhythm
Week one, leave it alone and stop pulling. Week two, first gentle wash and a full dry. Week three, lightly moisturize the leave-out and check the nape for slippage. Week four, decide whether to continue or book takedown, and never stretch past six weeks with a heavy install. A calm routine prevents most of the damage people blame on hair.
Building Your Own Decision Path
My closing advice is blunt: pick the pattern that fits your real daily life, not the one that photographs best. Write down your wash frequency and hairline history, then ask your stylist which rows they will use and why. A braider who can explain the layout in two calm sentences almost always installs a better one than someone who just says “trust me.”
Braid Pattern Questions People Actually Ask
What is the best braid pattern for a sew in with a middle part?
A beehive or circular pattern is the strongest choice, because rows curve around the crown and finish where a center part sits, so you will not see blunt row ends peeking through. Ask your braider to keep the two rows nearest the part especially flat, and consider a closure if your natural part area is thin or sensitive.
Is a beehive braid pattern better than straight back braids?
Neither is universally better, they solve different problems. Straight-backs install faster, dry quicker and suit side parts and closures. Beehives distribute weight more evenly and hide track junctions, which suits center parts, ponytails and heavier bundle counts, but takedown takes longer and the foundation holds moisture for longer after washing.
Can I wash my hair with a sew in and braid pattern underneath?
Yes, and you should. The pattern decides how easy it is: open straight-backs and airy beehives let water in and out, while dense crossover rows trap moisture for days. Wash every one to two weeks with a sulfate-free shampoo, rinse thoroughly, then sit under a hooded dryer until the cornrows are completely dry before you restyle.
How many bundles do I need with straight back braids?
Most full sew-ins with a closure need three bundles, and four if you want volume or length past 20 inches. With straight-backs and a leave-out, three bundles usually cover the back and sides comfortably. Finer hair often looks fuller with three good bundles than with four cheap ones sewn onto a bulky foundation.
Will tight braids damage my edges even if the install looks perfect?
Traction is cumulative, so yes. A flawless-looking install can still thin your temples if the first row sits directly on the hairline and stays tight for six weeks. Keep the front row a finger’s width back, avoid daily pulling on the leave-out, and take the install down at five to six weeks rather than pushing for eight.
Can I wear a sew in if my edges are already thin?
Honestly, I would not recommend a leave-out install on already-fragile edges, because matching that section demands daily manipulation and thin edges rarely recover under that stress. A closure-based sew-in with hairline-offset rows is gentler, and a braided wig or glueless unit gives the scalp a full rest while still looking styled.
How long can I realistically keep a sew in before takedown?
Four to six weeks is the realistic window for most people. After that, the foundation loosens, your natural hair grows out and sheds under the braids, and trapped moisture becomes a real risk. Going longer rarely saves money, because the takedown detangling and any breakage usually cost more than an earlier appointment would have.