How to Melt Lace Front Wigs Without Glue
Learning how to melt a lace front wig without glue changed my routine more than any product haul ever did, because the real trick is heat, tension and a whisper-thin film of product instead of an adhesive. I gave up brushed lace glue six years ago after a scalp reaction, and my hairline still survives daylight. Short answer: cut the lace so it lands on bare skin, apply a thin layer of melt spray or mousse, press it with a melt band, then set it with cool air until the mesh lies flat. It sits inside the broader glueless lace front wig installs workflow, and it is the most over-mythologised step of that workflow.
Table of Content
What Melting Lace Without Glue Really Means
Melting Is Visual, Not Adhesive
Melting is a visual event: you are convincing the eye that the mesh and your forehead are one surface. Traditional installs bind that illusion to brushed lace adhesive, which is why so many people assume the glue does the melting. It does not. A wig can be glued down like a limpet and still read as a strip of tape across the hairline, because adhesion and blend are two separate problems.
Once you split them apart, glueless melting becomes logical. The wig stays on through cap tension, an elastic band, or a grip; the front edge gets treated as a cosmetic finish. That reframing is the single most useful shift I made, and it explains why so many wearers describe glue-free attempts as either brilliant or useless depending on the wig they happened to own.
The Four Things Doing the Melting
Four factors carry the entire effect: skin temperature, a trace of moisture, pressure, and time. Forehead skin runs warm enough to soften most melt sprays, which is why cool air sets them rather than hot air. The melt band supplies even pressure so the film spreads thin instead of pooling. A loose band, an oily forehead, or a thick layer will each break the chain.
I keep a scrappy notebook of what worked, and the pattern is blunt: nights when I skipped the alcohol wipe failed roughly seven times out of ten within six hours, while clean-skin nights held for days. That is not a laboratory study, just my own record across a few months of wear, but the direction is consistent enough that I no longer gamble on it.
Some Glueless Wigs Simply Will Not Melt
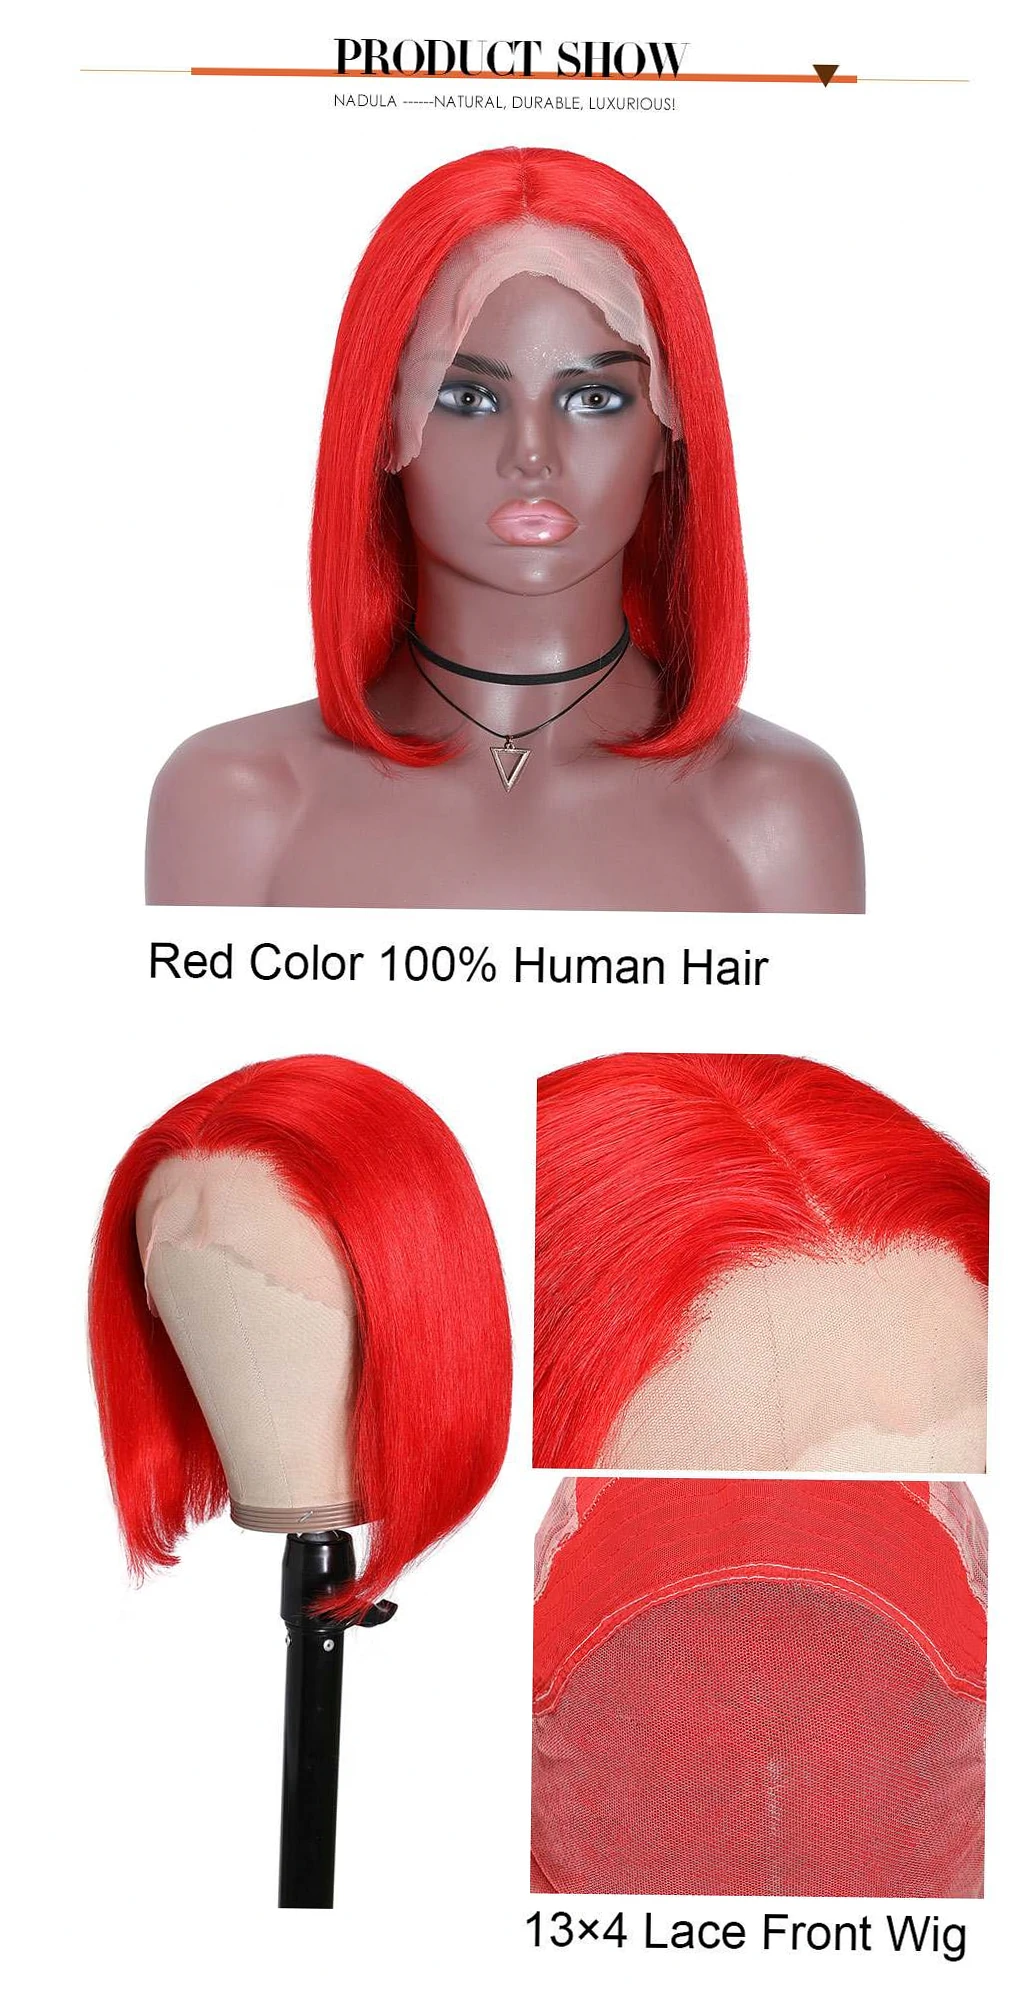
Here is the unpopular part. Not every wig sold as glueless cooperates, and no technique rescues a cap that is too large or a lace that feels like window screen. I have pressed, sprayed, banded and cursed at edges that refused to lie down, then swapped to a softer Swiss lace and watched the same routine work in four minutes.
Before you blame your hands, check the construction. Does the cap grip your head without clamps? Does the lace drape when you hold it against your wrist? If either answer is no, the wig is the limiting factor. A well-ventilated cap and a genuinely pliable front edge matter more than the brand printed on the bottle.
Which Lace-Melting Product Works Best?
Sprays, Mousses and Bands Compared
Texture should follow your skin and your lace. Oily foreheads tend to do better with a mousse, which sits on top of the mesh instead of running down your temples, while drier skin gets a cleaner result from a fine spray. Dense classic Swiss lace swallows heavier products; the newer, thinner HD styles punish anything applied with a generous hand.
The melt band is not really a product at all, more of a clamp. Its job is to hold the mesh still while the film underneath firms up, and a decent elastic band reused for years beats a drawer full of single-use strips. That reusability matters to me for sustainability reasons as much as for cost.
Marketing Claims vs Real Wear
Store copy and bathroom reality rarely agree. I have compared the label language against what actually happens on a warm forehead, and the gap is widest around the word seamless. Below is the honest version, drawn from my own wear plus the experiences that recur most often among people who regularly go glue-free.
| Method | What the label claims | What users actually report | Best suited to |
|---|---|---|---|
| Pressure only (melt band, no product) | No product needed; the wig melts itself | Flat only when the cap is tight and the lace is soft; most hairlines lift slightly within two hours | Smaller heads, soft pliable lace |
| Lace melt spray | Melts like glue with zero residue | Flattens well, but it is a light tack film; oily skin or a sweaty day pushes it loose by day three | Oily skin, short-term wear |
| Melt mousse or cream | Creamy glide that melts lace into skin | Very forgiving and softens the edge nicely, yet lacks the firm hold of a spray; weak on stiff mesh | Dry skin, thin curled lace |
| Elastic band or wig grip | Secure hold without glue | Keeps position and pressure but does nothing for a badly cut or mismatched edge | Buzz cuts, active days |
Matching the Method to Your Head
Budget matters less than people expect: a reputable melt spray costs more per bottle than a mousse, but you use it in two-pump doses, so it outlasts the tub. Sensitive scalps and anyone nursing thin edges should start with pressure plus a fingertip of mousse rather than chasing a rock-solid bond.
Scenario testing settles most of the arguments. Gym regulars should skip heavy spray, because sweat slides the film along the hairline, and reach for a wide band with a snugger cap. Desk workers can get away with one thin set in the morning. Same wig, different physics, so pick the version that matches your week rather than your mood board.

How Do You Melt Lace Without Glue?
Clean the Skin and the Lace First
Start with a wipe of alcohol across the forehead, then a second pass on the inside of the lace. Skip moisturiser and skip toner, because oils and silicones create a barrier the melt film cannot grip. Give it thirty seconds to dry completely. That minute of prep decides whether the next two hours are wasted effort or a genuinely invisible hairline.
If product residue is already on the mesh, remove it before anything else. Old film clumps, turns grey, and lifts the new layer away from skin. A soft toothbrush and warm water handle most buildup; anything stubborn gets a proper lace cleanser and a full dry before you try again.
Apply Thin, Then Band It Down
Two light passes, not a flood. Fingers work better than a nozzle for spreading the film evenly, and the goal is a surface that feels barely there. Set the lace so the mesh sits on bare skin, never on hair, then wrap a melt band snugly around the hairline without pinching your temples. Leave it for six to ten minutes.
Resist the urge to peek every ninety seconds. The film needs uninterrupted pressure to flatten, and peeling bands back constantly breaks the seal you just built. Use the waiting time for makeup, coffee, or replying to the messages you have been avoiding.
Set It With Cool Air
Cool air on a low setting is the finisher. Hold the dryer a hand’s width from the band, sweep it along the edge for a minute or two, then unwrap and inspect. Any spot that still floats gets a fingertip of product and a short second press. Warm air softens and stretches the film, which is why it tends to undo your work.
| Stage | What you do | Time | What it prevents |
|---|---|---|---|
| Prep | Alcohol wipe on forehead and lace interior | About 1 minute | Oil lift and premature peeling |
| Product | Two thin passes, spread by fingertip | Under 1 minute | White crusting and flaking |
| Placement | Mesh onto bare skin, not onto hair | About 1 minute | Harsh, detectable hairline |
| Pressure | Melt band or scarf, firm but not tight | 6 to 10 minutes | Edges springing back |
| Setting | Cool air, low speed, then inspect | 1 to 2 minutes | Shine and lifting corners |
Why Won’t Your Lace Melt Flat?
Lace Cut Too Short or Curling Up
Over-trimming is the classic self-inflicted failure. Leave roughly two millimetres of mesh beyond the hairline so there is something to press down; cut flush and the edge curls back no matter how much product you add. If the front still looks abrupt once it lies flat, the fix is upstream of melting, and hairline plucking for beginners covers that groundwork properly.
Another frequent culprit is a cap that rides up. When the wig slides backward, the mesh pulls taut and lifts at the corners, which reads as a failed melt but is really a fit problem. Adjust the straps or add a grip band, then re-position the front edge before adding any more product.
Lace Color and Ghosting Edges
A visible melt is often a colour problem wearing a technique disguise. Lace that is too warm, too cool, or still carrying a dark trim line will never vanish, no matter how flat it sits. Tint sparingly with a light layer of powder or foundation on the mesh itself, and let it dry fully before pressing, otherwise the colour transfers onto your forehead.
Band Marks, Sweat and Edge Strain
Bands pulled tight enough to leave dents are doing damage in exchange for a flat edge. Heat trapped against the scalp under a snug band is a common trigger for itching and irritation, and constant tension along the front is exactly how edges thin out over time. Loosen the band, shorten the set, and let the hairline breathe overnight.
Anyone who wears frontals regularly should treat edge care as non-negotiable, and hairline protection under wigs is worth reading before your next install. The short version: no band so tight it marks skin, no sleeping in a pressed-down edge, and a full night off between wears.
| Symptom | Most likely cause | Practical fix |
|---|---|---|
| Edge lifts within two hours | Oily skin or too much product | Re-wipe with alcohol, apply thinner, band again |
| Plastic or shiny look | Lace shade mismatch or crusted film | Light tint on the mesh, less product, spread by finger |
| Dark line at the hairline | Over-trimmed lace or leftover residue | Clean thoroughly, keep a small mesh margin |
| Dents on the forehead | Band tension too high | Loosen, shorten the set window |
| Itching or dampness underneath | Thick film trapping heat | Switch to a lighter product, give the scalp air time |
Making Your Glueless Melt Last All Week
Sleep, Sweat and Touch-Ups
Sleep is the number one destroyer of a good melt. Cotton pillowcases create friction that nudges the mesh back millimetres at a time, so tie hair away and cover it with a satin scarf or bonnet. In the morning, resist reaching for more product; re-press the edge with clean fingertips and cool air, and only add a trace if it has genuinely let go.
Styling Without Breaking the Edge
Hats, clips and setting sprays can undo twenty minutes of careful work. Put hats on from the back and avoid dragging them across the forehead. If you want a soft finish, styling baby hair with a flat brush gives you a gentler transition than fingers or a toothbrush, and keep finishing spray on the strands, not on the mesh.
Humidity is the quiet saboteur. On sticky days the film softens faster, so plan your melt for the coolest part of the morning and keep a folded blotting sheet in your bag to press away shine instead of layering more product on top of an already slippery edge.
Honest Advice for Beginners
Expect your first three attempts to be imperfect, and stop treating every small lift as a failure. Sensitive scalps should begin with pressure alone, then add the lightest product that gets a result. Choose a wig you can rewear for years and reusable bands over disposables; that combination is kinder to your scalp and to your wallet than a cupboard of one-use items.
My own rule after six years is boring and reliable: clean skin, thin film, real pressure, cool air. If those four steps are done and the edge still floats, the problem is the cut, the cap, or the lace itself. Note where it lifts, because that spot is telling you exactly which one to fix.
Common Questions About Glueless Lace Melts
Can you really melt lace without glue, or is it just marketing?
You can, with realistic expectations. Glueless melting changes how the mesh reads against clean, matte skin using pressure and a light film, but it does not anchor the wig the way adhesive does. On oily skin or stiff lace, expect one to three days before a re-press, and treat that as normal rather than a defect.
How long does a glue-free melt usually hold?
Indoors with light perspiration, most people get two to four days before the front edge needs attention. Humidity, exercise and oily skin shorten that considerably, sometimes to under twenty-four hours. A spray tends to outlast a mousse in heat, but no glue-free method survives a serious workout intact, so plan around your schedule.
Is it okay to combine melt products with wig tape?
Plenty of wearers do exactly that, and it is a sensible hybrid. Tape or a grip secures the cap while the melt product handles the visible front edge. Keep the tape away from the skin you plan to melt, apply the front finish last, and you often get a longer hold than a purely product-free approach.
Why does my lace front lift after a few hours?
Three usual suspects: skin that was not wiped clean, a cap loose enough to keep tugging the mesh backward, or a product layer thick enough to crust and crack. Strip it fully and start again rather than stacking fresh product on top, since layered film lifts faster and looks cloudy in daylight.
Are melt sprays safe for sensitive scalps or thinning edges?
Most are gentle compared with brushed adhesive, but none are universally non-irritating. Patch test behind the ear first, keep product off skin that is already inflamed, and never sleep in a pressed-down edge. If you notice burning, flaking or lingering redness, stop and switch to a band-only method while your scalp recovers.
Is glueless melting cheaper than a traditional glued install?
Usually yes over a year. A bottle of melt spray or mousse is used in tiny amounts and lasts months, while adhesive, remover and clean-up supplies add up quickly. The real saving is in edge health, though, because fewer glue removals means less stress on the hairline you cannot regrow.
Can a complete beginner master this in a week?
Mastery is optimistic; competence in a week is realistic. Practise on a day when you are not leaving the house, time each attempt, and photograph the hairline in daylight so you can compare honestly. Most people see a marked improvement by the fourth try, once placement and band tension stop being guesswork.