Is Glueless Lace Front Install Right for You
After more glueless lace front wig installs than I can count — mine and my clients’ — I’ll give you the verdict first: fit beats brand, and prep beats product. A glueless lace front only reads as undetectable when the cap matches your head measurement, the lace is trimmed to your own hairline curve, and the perimeter is locked down with straps, a band, or a grip instead of adhesive. Nail those three and you are out the door in about twelve minutes. If you are still weighing whether to skip glue entirely, these everyday glueless wigs are the honest place to start.
Table of Content
- What Glueless Lace Front Wig Install Really Means
- Which Wig Specs Decide Install Success
- Glueless vs Glued Installs: Which Wins
- How to Install a Glueless Lace Front
- Why Glueless Installs Fail: Mistakes to Avoid
- Best Daily Scenarios for Glueless Lace Fronts
- Cost, Care, and Your Next Move
- Glueless Lace Front Install: Your Questions Answered
What Glueless Lace Front Wig Install Really Means
The three anchors that replace glue
A glueless install is a load-bearing system, not a glue substitute: the cap’s adjustable straps pull the unit tight to your occipital bone, an elastic band flattens the front perimeter, and a velvet grip stops sliding on smooth hair. When all three cooperate, nothing lifts at the temples. Wear-and-go glueless frontal wigs are engineered around that logic, which is why they survive a commute without a single drop of adhesive.
Straps alone rarely suffice on fine or slippery hair. Grips add friction, silicone bands add compression, and combination caps use both. My working rule is simple: if you can slide two fingers under the front edge without resistance, the fit is too loose no matter how convincing the lace looks under ring light.
Lace type decides how invisible it looks
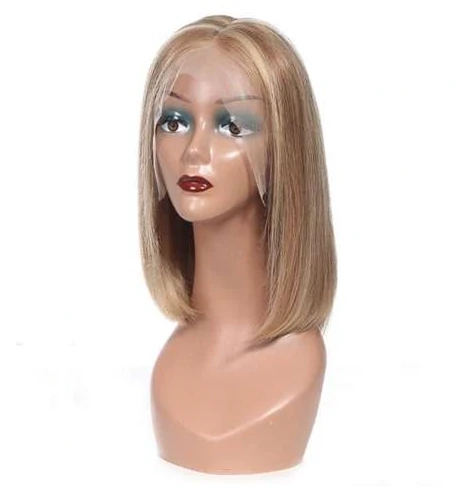
Lace is the optical layer of the whole setup, and the mesh grade controls how much scalp shows through. Standard Swiss lace blends well once tinted, while a genuinely invisible HD lace wig disappears against most skin tones without foundation. Thinner is not automatically better, though: ultra-fine mesh tears if you yank it during removal, so handle by the cap, never the edge.
Blending matters more than the label on the box. Melted HD lace hairlines come from talc-free powder, a light concealer match, and pressing the mesh flat before you cut anything. Skip that step and even expensive mesh reads as a visible band the moment daylight hits your forehead.
Which Wig Specs Decide Install Success
Lace size, density, and cap construction
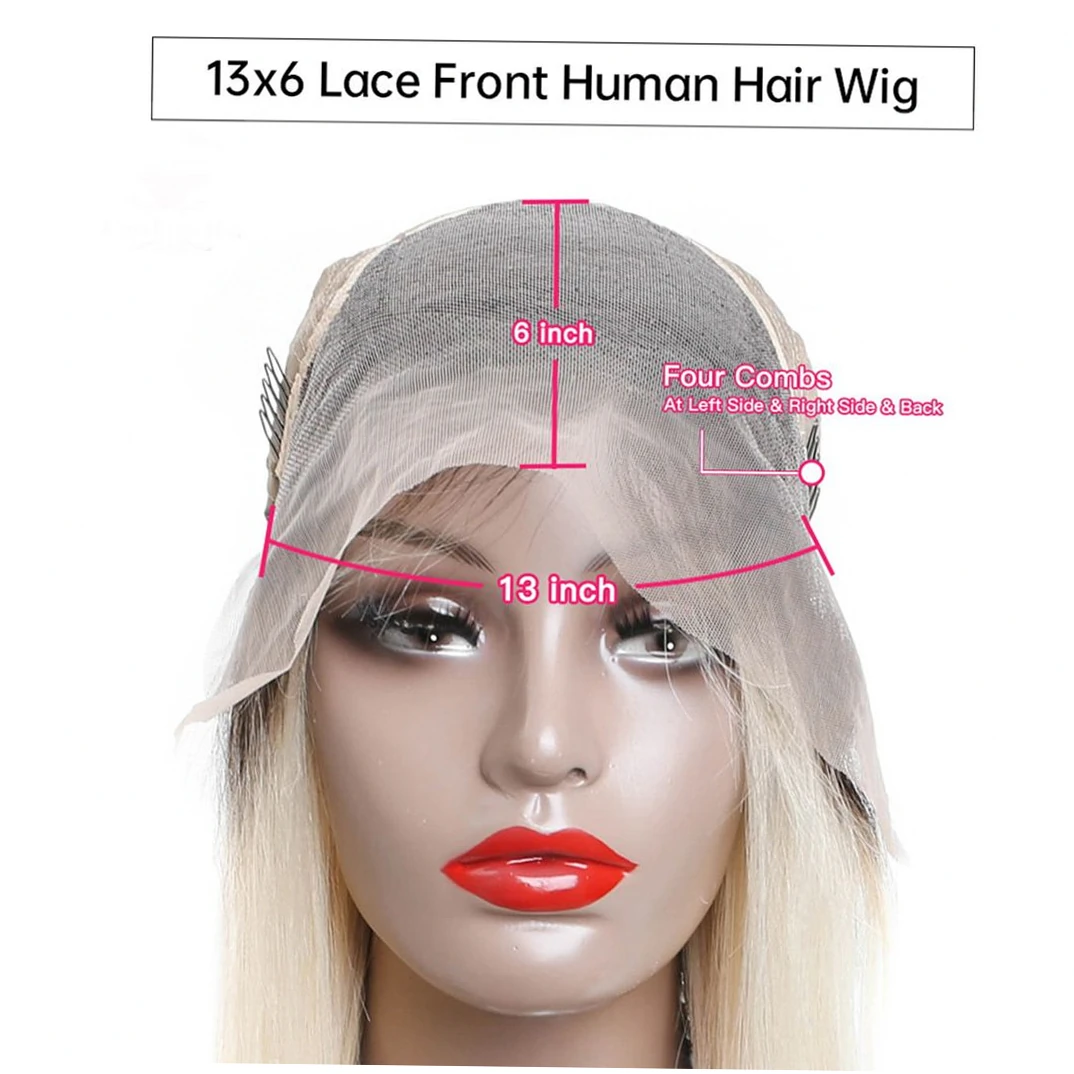
Thirteen-by-four lace covers ear to ear and gives the most styling freedom; 13×6 pushes the parting deeper; 5×5 or 7×5 closures keep the perimeter minimal and are genuinely the easiest to secure without adhesive. Density above 180% hides scalp but adds weight that drags the hairline backward. Choose the smallest lace area you can still style around, not the largest you can afford.
| Lace size | Coverage | Glueless hold difficulty | Best for |
|---|---|---|---|
| 13×4 ear-to-ear | Full hairline plus 4-inch part | Moderate, usually needs a band | Updos and ponytails |
| 13×6 | Full hairline plus 6-inch part | Moderate to high | Deep middle parts, volume |
| 7×5 closure | Front only | Easy | Daily wear, beginners |
| 5×5 closure | Minimal front strip | Easiest | Short cuts, gym days |
Parting space and hairline realism
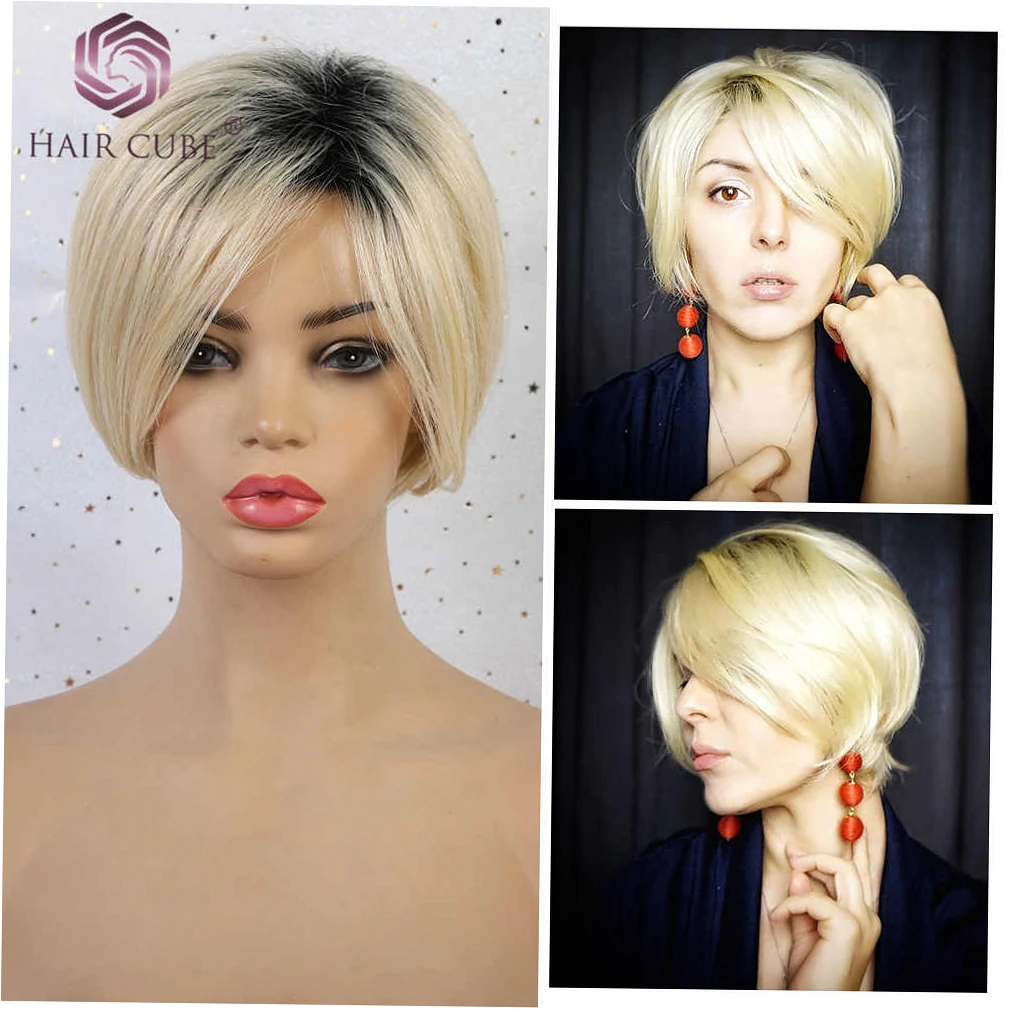
Parting space is what people actually notice. A four-inch deep part lets you switch sides without exposing wefts, and pre-plucked hairlines with graduated density read as growth rather than a hard drawn line. If side-swept styling is your plan, confirm part depth before checkout. These premium lace front wigs publish lace dimensions and density per unit, which removes most of the guesswork.
One spec gets ignored constantly: cap circumference tolerance. A medium cap built for 22 to 22.5 inches will not sit flush on a 21-inch head no matter how hard you tighten the straps, and the surplus fabric bunches at the nape. Measure twice with a soft tape before ordering, and measure the nape curve too.

Glueless vs Glued Installs: Which Wins
Hold, skin comfort, and removal time
Adhesive wins on absolute hold and loses on nearly everything that touches your skin. Glue keeps a 13×4 perimeter flat for a week or longer, but removal costs twenty to forty minutes plus solvent, plus a recovery night for your forehead. Glueless systems deliver eight to fourteen hours of dependable wear and come off in about ninety seconds.
Comfort is the underrated variable. Lace glued down for days traps sweat and lint, and repeated adhesive on the same hairline strip irritates sensitive skin. If you react to acrylics or wig tapes, going adhesive-free is not a compromise; it is simply the sensible default for your body.
When adhesive still earns its place
Be honest about your week. Windy outdoor work, backless styling, and 13×4 ear-to-ear lace on a slippery hairline are the three situations where a small amount of adhesive genuinely helps. Even then, apply it only at the temples and leave the center free. Here is the practical truth about gluing a glueless wig: you can, and the unit survives fine as long as the adhesive is skin-safe and never soaked into the knots.
| Claim | Official marketing line | What wearers actually report |
|---|---|---|
| No adhesive required | Stays flat all day | Flat only when the cap fits snugly; loose caps still need bands or a grip |
| 13×4 works glueless | Ear-to-ear lace is glue-free | Full lace perimeters often need adhesive at the temples for long days |
| Lace is invisible | Melts on any skin tone | Concealer or powder matching is still needed for scalp realism |
| Cut the lace straight | Trim to your hairline | Zigzag cutting conceals the border better on curved hairlines |
| Week-long wear | Long-wear construction | Most wearers remove daily; eight to fourteen hours is realistic |
Treat those wearer reports as anecdotal field notes rather than universal rules, because cap fit, hair texture, and climate vary enormously. The pattern still holds: marketing describes the best case, while daily users describe the average case, and the gap between the two is almost always fit and lace preparation.

How to Install a Glueless Lace Front
Measure, prep, and place
Sequence matters more than products. Braid or wrap your hair flat, wipe the perimeter with alcohol to strip oils, then slide the cap on back-to-front so the lace lands where your hairline naturally begins. Fasten the nape straps first and work forward. Putting on a glueless wig in that order takes ten minutes; reversing it takes thirty and looks worse.
Two positioning choices decide the final look: sitting the lace slightly behind your natural hairline, which hides the edge, or placing it exactly on the line, which demands a cleaner cut and steadier hands. Behind-the-hairline placement is friendlier for beginners and for anyone with a visible widow’s peak or uneven front hairline.
Trim the lace and finish the hairline
Cut in small increments using a zigzag or scalloped pattern that follows your forehead curve. Never remove all the mesh on a first attempt, because you can always trim more but you cannot reattach lace once it is gone. Leave roughly one to two millimeters beyond the hairline so you retain blending room for powder.
Finishing is where realism actually lives. Lace frontal baby hairs soften the transition, tinted powder knocks down shine, and a cool blow-dry presses the mesh into skin. If you want a part, melt that section first and pin it with a band while you style the rest of the unit.
| Step | Time | What you need | Checkpoint |
|---|---|---|---|
| Flatten natural hair | 3 min | Wrap cap, edge brush | No bulk at the nape |
| Fit and strap the cap | 2 min | Mirror, adjustable straps | Two-finger slide test fails |
| Position the lace | 2 min | Comb, section clips | Front edge follows hairline curve |
| Trim the lace | 3 min | Scalloped scissors | One to two millimeter border left |
| Blend and melt | 2 min | Setting powder, cool dryer | No shine under direct light |
Why Glueless Installs Fail: Mistakes to Avoid
Fit mistakes that cause lifting
Almost every it keeps sliding complaint traces back to size, not technique. When a unit sits too loose, the fix is tightening the internal bands and rear straps first, then reaching for adhesive or a headband to cover the lace as a last resort. Order a cap within half an inch of your measurement and spontaneous lifting largely disappears.
Scalp realism gets skipped just as often. A thin layer of concealer matched to your skin tone, applied to the part before placement, does more for a natural look than upgrading to a more expensive unit. Powder over liquid, always, because liquid concealer on mesh looks wet in sunlight and photographs worse.
Lace cutting and edge damage
Cutting straight across the front is the most common irreversible error, especially on curved hairlines where a straight edge lifts at the corners within an hour. Zigzag cuts follow the curve and hide the border. Stop tugging the unit off by the lace as well; peel from the nape and let the front release last.
Traction is the slow-burn risk nobody notices until the damage is visible. Tight straps worn daily pull on the same follicles, and tight front edges thin over months rather than days. Rotating styles, removing the unit at night, and following a real routine for protecting edges under wigs will do more for your hairline than any serum on the market.
| Risk | Warning sign | Fix |
|---|---|---|
| Loose fit | Lace lifts at the temples by midday | Tighten straps, add a band or grip |
| Lace tear | Frayed mesh along the front edge | Trim less next time, handle by the cap |
| Traction thinning | Sore temples, sparse edges after months | Loosen straps, rotate styles, take rest days |
| Product buildup | Dull lace, itching along the part | Wash the cap, avoid heavy oils at the root |
Best Daily Scenarios for Glueless Lace Fronts
Workweeks, gym days, and travel
Match the install to your day, not to a trend. Office weeks suit a snug 13×4 with a band for a flat perimeter. Gym sessions and hot climates favor 5×5 or 7×5 units you can lift off in seconds, since sweat loosens any perimeter eventually. Travel rewards lace you can reseat in a hotel bathroom mirror without solvents or clips.
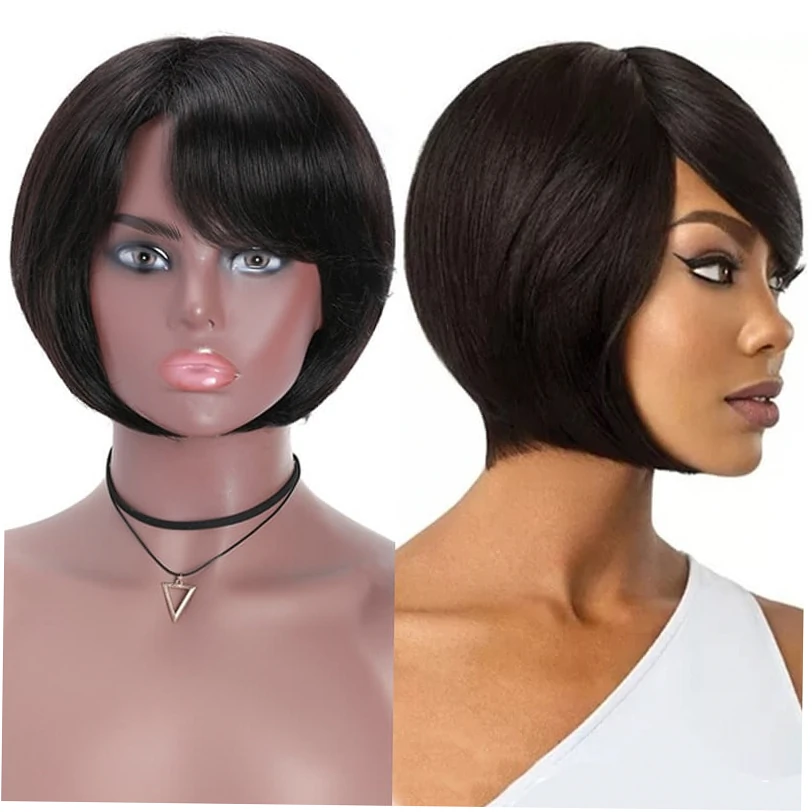
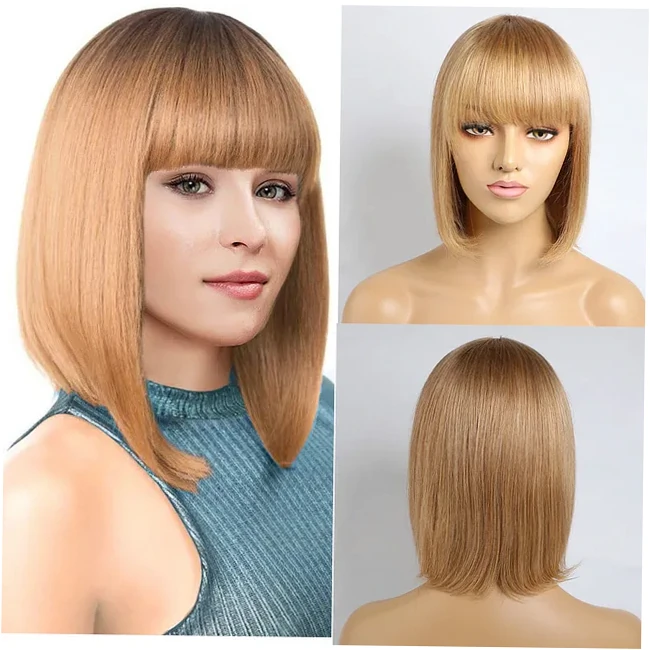
Short trips and constant style changes explain the appeal of a side part curly bob, which pairs a low-maintenance cut with a perimeter short enough to secure by strap alone. For anyone who switches looks twice a week, that geometry matters more than premium density or extra length.
Beginners, sensitive skin, and protective styling
If you have never installed a unit, start with a closure style and a grip band. If your skin reacts to adhesive, glueless is the only sustainable route. If you are growing out breakage, choose lower density and looser straps so the unit protects your hair instead of pulling on it.
Length of wear should drive the decision too. Daily removal suits most people better than week-long adhesion, because a clean scalp and rested hairline age better than any install. Occasional wearers genuinely can go weeks between washes without odor or shedding, especially when a wig cap sits underneath.
Cost, Care, and Your Next Move
Budget and lifespan math
Glueless units cost more upfront and less across a year. A two-hundred-dollar glue-free unit worn daily for eight months works out near eighty cents a wear, while adhesive, solvent, and edge repair add fifteen to thirty dollars monthly to any glued routine. Add the value of your time, since twelve-minute installs versus forty-minute removals compounds quickly.
Lifespan depends mostly on handling. Trimmed correctly, washed every eight to ten wears, and stored on a stand, human hair holds six to twelve months. Synthetic units last two to four months with light wear, and regular heat styling shortens both categories noticeably.
Care routine and styling that protects the install
Wash the cap, not the knots. Detangle from the ends upward, use a sulfate-free shampoo, and condition mid-lengths only, because conditioner at the root softens the lace base. Air-dry on a stand. Solid glueless wig styling habits, including heat protection and loose overnight braids, extend usable life far more than expensive serums do.
Replace rather than repair once the lace frays past the hairline or the perimeter stops springing back. A tired unit pulls unevenly and can drag on your natural edges, which turns a cosmetic annoyance into a hair-growth problem. Two well-kept units rotated weekly outlast four neglected ones.
So here is your move: measure your head tonight, write the number down, and buy one unit that matches it before you buy anything else. Then do a dry run at home on a day when nobody sees you. Ten minutes with a mirror and a timer will teach you more about fit than twenty product reviews, and your hairline will thank you for leaving the glue in the drawer.
Glueless Lace Front Install: Your Questions Answered
Can I really wear a glueless lace front wig all day without glue?
Yes, provided the cap is genuinely your size and the front perimeter is compressed by a band or grip. Most wearers get eight to fourteen hours of dependable hold. Wind, heavy sweating, and backless styling shorten that window, and those are the only realistic situations where a small amount of temple adhesive is worth adding.
Why does my glueless wig lift at the temples after a few hours?
Lifting at the temples almost always means the cap is too large for your head shape, so the lace never sits flush in the first place. Tighten the rear straps, engage the internal bands, and check with the two-finger slide test. If the mesh still floats at the corners, size down rather than adding product.
Is a 13×4 lace front too much lace for a glueless install?
Not too much, but it is the most demanding option. Ear-to-ear lace needs a flatter, more precise fit and often a band across the front to stay down for a full day. Beginners usually do better starting with a 7×5 or 5×5 closure and graduating to full lace once they understand their own head shape.
Should I cut all the lace off before my first install?
No. Trim in small increments and stop one or two millimeters past your hairline. First attempts are rarely perfect, and lace cannot be reattached once removed. Cutting in a zigzag or scalloped pattern along the forehead curve also hides the border better than a straight cut, particularly on a widow’s peak.
Will glueless wigs damage my natural edges over time?
Only when they are worn too tight or worn constantly. Traction damage comes from sustained tension, not from the unit itself. Loosen the straps, remove the wig at night, rotate protective styles, and give your hairline rest days. Anyone noticing sore temples or sparse patches should stop wearing the unit for a couple of weeks.
How much should I expect to spend on a good glueless lace front wig?
Budget around one hundred fifty to three hundred dollars for a reliable human hair unit with a measured cap and honest lace specs. Below that range you are usually trading density, cap accuracy, or return options. Factor in a grip band, powder, and a stand, which together cost less than one salon install appointment.
How often should I wash a glueless lace front wig?
Every eight to ten wears for daily users, and every three to four wears in hot, sweaty conditions. Occasional wearers can stretch to a month. Wash the cap gently, keep conditioner away from the knots, and air-dry on a stand. Over-washing strips moisture; under-washing dulls the lace and traps odor.
3 Comments